

Golden Hour Photography: How to Capture Stunning Light for Breathtaking Images
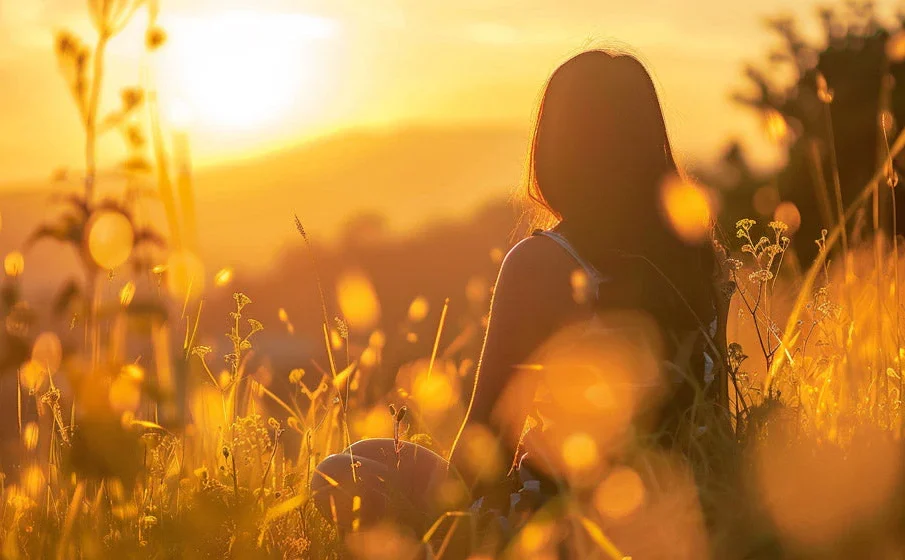
Photography is fundamentally about light, and few moments offer better lighting conditions than the golden hour. This brief period shortly after sunrise and before sunset bathes the world in warm, soft light that enhances colors, textures, and depth.
For photographers—from beginners to professionals—mastering golden hour photography can transform ordinary scenes into visually striking images.
This guide explains what the golden hour is, why it matters, and how you can consistently capture stunning photographs during this magical time of day.
What Is Golden Hour in Photography?
Golden hour refers to the time shortly after the sun rises and just before it sets when sunlight travels through more of the Earth’s atmosphere. As a result, the light becomes:
- Warmer in color temperature
- Softer and more diffused
- Less harsh than midday sunlight
This produces a golden-orange glow that naturally enhances landscapes, portraits, and city scenes.
Why Golden Hour Is Ideal for Photography
Photographers value this time because it solves many lighting challenges.
Benefits include:
- Soft shadows: Less harsh contrast on subjects
- Warm tones: Natural color enhancement
- Directional light: Creates depth and dimension
- Reduced glare: Better control over highlights
Even basic cameras or smartphones can produce impressive results when used during golden hour.
Best Photography Styles for Golden Hour
Golden hour works well across multiple photography genres. However, certain styles benefit especially from its lighting qualities.
1. Portrait Photography
Golden hour light is soft and flattering, making it perfect for portraits.
Key advantages include:
- Smooth skin tones
- Natural glow around subjects
- Minimal need for artificial lighting
Tip: Position the subject with the sun slightly behind them to create beautiful rim lighting.
2. Landscape Photography
During golden hour, landscapes gain:
- Richer colors
- Longer shadows that add depth
- Dramatic skies
Mountains, beaches, forests, and open fields become particularly striking when illuminated by warm sunlight.
3. Silhouette Photography
Golden hour sunsets are perfect for creating silhouettes.
To achieve this effect:
- Place the subject between the camera and the sun
- Expose for the bright sky
- Allow the subject to fall into shadow
This technique works beautifully with trees, people, and architectural shapes.
4. Street Photography
Golden hour transforms urban environments by creating:
- Long shadows across streets
- Reflective light from windows
- Cinematic atmosphere
It adds storytelling elements that are difficult to capture during midday.
Camera Settings for Golden Hour Photography
Although golden hour light is forgiving, proper camera settings still improve results.
Recommended Settings
ISO:
- Keep ISO low (100–200) to maintain image quality.
Aperture:
- Portraits: f/1.8 – f/3.5 for background blur
- Landscapes: f/8 – f/11 for sharp detail
Shutter Speed:
- Adjust based on brightness and subject movement.
White Balance:
- Use Daylight or Cloudy to enhance warm tones.
Shooting in RAW
Always shoot in RAW format when possible.
Benefits include:
- Better color correction
- Greater exposure recovery
- More flexibility during editing
Composition Techniques That Enhance Golden Hour Photos
Lighting alone doesn’t create great images—composition still matters.
Use the Rule of Thirds
Position important elements off-center to create balance and visual interest.
Include Foreground Elements
Adding objects like rocks, plants, or buildings gives images depth and scale.
Capture Sun Flares
Shooting directly toward the sun can create natural lens flare, which adds artistic atmosphere.
Experiment with Shadows
Golden hour shadows are long and dramatic. They can be used to create patterns and storytelling elements.
Planning Your Golden Hour Shoot
Golden hour lasts only 20–60 minutes, depending on your location and season. Preparation is essential.
Tips for Planning
- Arrive 30 minutes early to scout compositions
- Check sunrise and sunset times using weather apps
- Look for locations with open horizons
- Bring a tripod for stability in low light
Preparation ensures you spend your limited time shooting instead of searching for compositions.
Common Mistakes to Avoid
Even experienced photographers sometimes struggle with golden hour conditions.
Avoid these mistakes:
- Arriving too late and missing the best light
- Overexposing the sky in sunset shots
- Ignoring composition and relying only on lighting
- Using automatic white balance, which may reduce warm tones
Being mindful of these issues helps you produce consistently better images.
Editing Golden Hour Photos
Post-processing can enhance the beauty of golden hour images without making them look unnatural.
Recommended Adjustments
- Slightly increase warmth and vibrance
- Adjust contrast and highlights
- Enhance shadow detail
- Apply subtle clarity to improve texture
Editing should support the natural mood of the scene rather than overpower it.
Final Thoughts
Golden hour offers one of the most visually rewarding lighting conditions in photography. Its soft glow, warm colors, and long shadows naturally enhance both simple and complex scenes.
By understanding how to work with this light—through planning, proper camera settings, and thoughtful composition—you can consistently capture images that feel cinematic, atmospheric, and emotionally engaging.
Whether you are photographing landscapes, portraits, or city scenes, mastering golden hour photography is one of the most valuable skills a photographer can develop.
FAQ: Golden Hour Photography
1. How long does the golden hour last?
Golden hour typically lasts 20 to 60 minutes depending on geographic location and season. Near the equator it is shorter, while in higher latitudes it can last longer.
2. Can golden hour photography be done with a smartphone?
Yes. Modern smartphones handle golden hour lighting very well. Using HDR mode and manual exposure control can improve results significantly.
3. What lens works best for golden hour photography?
It depends on the subject:
- Wide-angle lenses for landscapes
- 50mm or 85mm lenses for portraits
- Telephoto lenses for compressing sunset scenes
4. Should I shoot facing the sun during golden hour?
You can shoot both toward the sun for silhouettes and flares or away from the sun for evenly lit subjects.
5. What is the difference between golden hour and blue hour?
Golden hour occurs before sunset and after sunrise, producing warm light. Blue hour happens just before sunrise or after sunset when the sky turns deep blue.
6. Do clouds improve golden hour photography?
Yes. Clouds can reflect sunlight and create dramatic colors and textures in the sky.
7. Is golden hour good for wildlife photography?
Absolutely. Many animals are active at sunrise and sunset, making golden hour perfect for capturing natural wildlife behavior in beautiful light.


